Desktop Chrome/Firefox Set Up
Introduction
Instructions
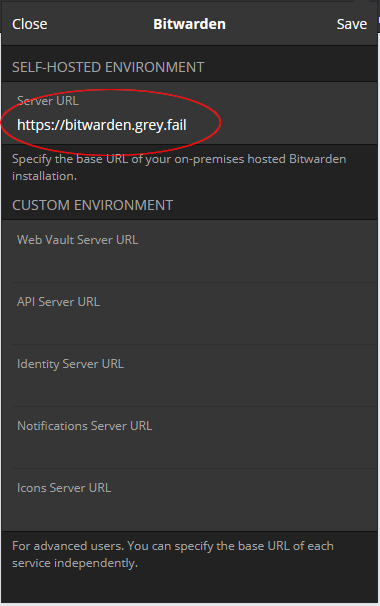
As an instance of Bitwarden is hosted on bitwarden.grey.fail, there is the additional step of adding a customized server URL. Please refer to step three. Steps five and six detail enabling autofill.
1. Install the Bitwarden extension/add-on from the browser extension/add-on store.
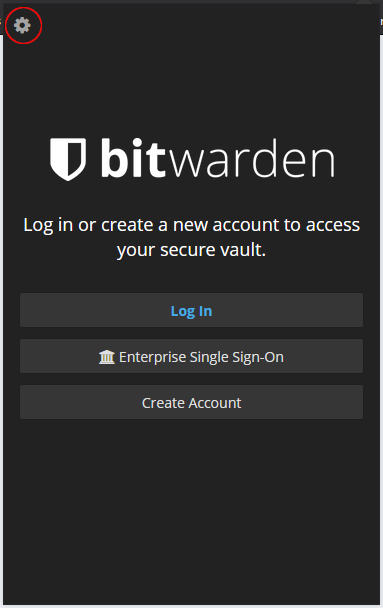
2. Select the gear icon in the upper left.
3. Add the enterprise address to the extension:
https://bitwarden.grey.fail4. Now you can log in with the account you created at bitwarden.grey.fail.
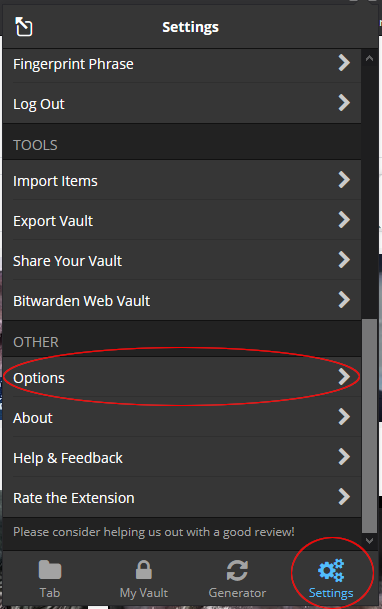
5. Autofill is disabled by default. To turn it on, select "Settings" at the bottom, then select "Options" from the list (at the bottom).
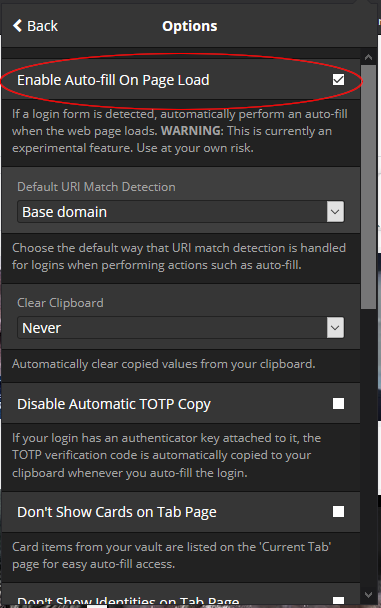
6. Check "Enable Auto-fill On Page Load."
7. That's it! You're all set up.


