
Creating a Bitwarden Account
Introduction
Bitwarden offers account sign-up and a number of price-tiered plans. By hosting an instance of Bitwarden on https://bitwarden.grey.fail, our users enjoy the paid version of Bitwarden for free.
All data submitted to https://bitwarden.grey.fail is protected with extremely strong encryption based on the master password you select. Administrators do not have access to your passwords.
This tutorial will take you from sign-up all the way to creating the first password-entry in your Bitwarden vault.
Note: Open registration on https://bitwarden.grey.fail is disabled and users must be invited. Once an administrator has invited you, a link is emailed to your email address.
Instructions
Creating Your Account
Joining the Organization
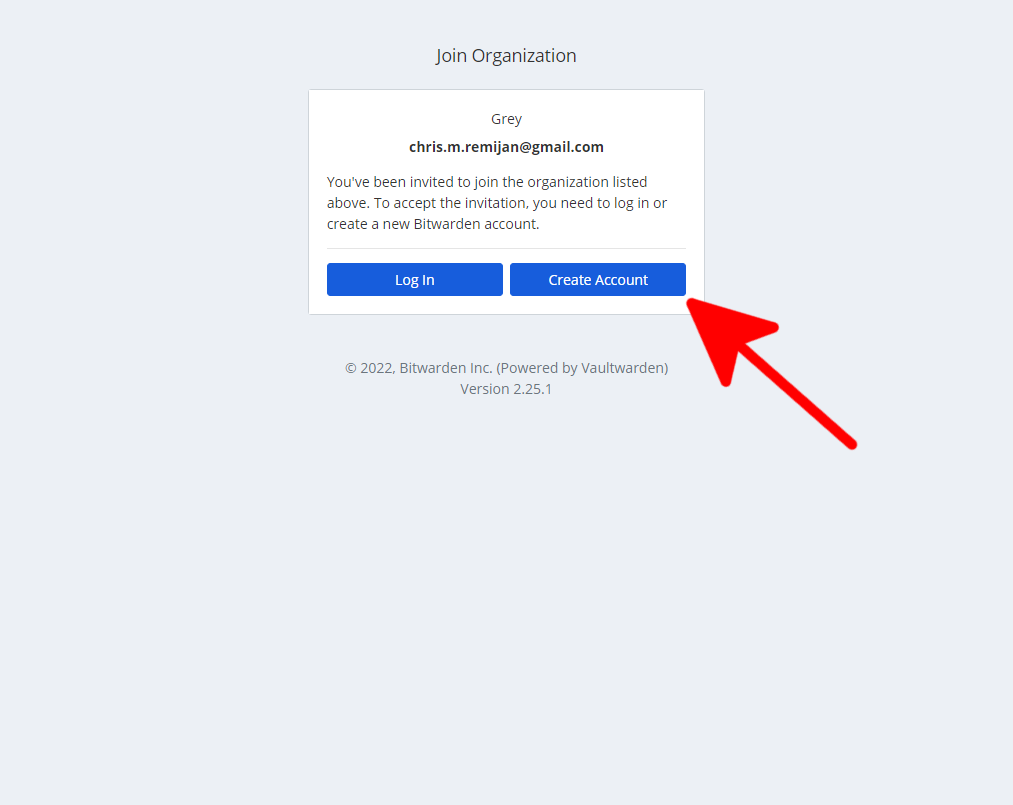
Once you are invited, a link will be e-mailed to the address you provided one of our administrators. Clicking on the link will direct you to a "Join Organization" page. Select "Create Account."
Providing Account Details
You will then be prompted with a user form. Please fill out the applicable details. Make sure your master password is something you can remember but is also adequately complex. Do not forget your master password.
The option to enable two-factor-authentication (2FA) will be available once you sign up in your user settings. Enabling 2FA is strongly encouraged for this application.
Note: Only the e-mail address you provided will be allowed in the "Email Address" field. A different e-mail address will fail to submit.

Validating the Associated E-Mail Address
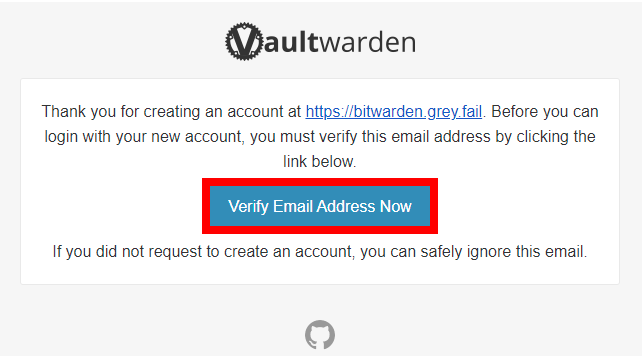
Once you have submitted your user form, an additional e-mail will be sent to you asking to validate your address. Once you have received the message, please click "Verify Email Address Now" (highlighted below).
Logging In for the First Time
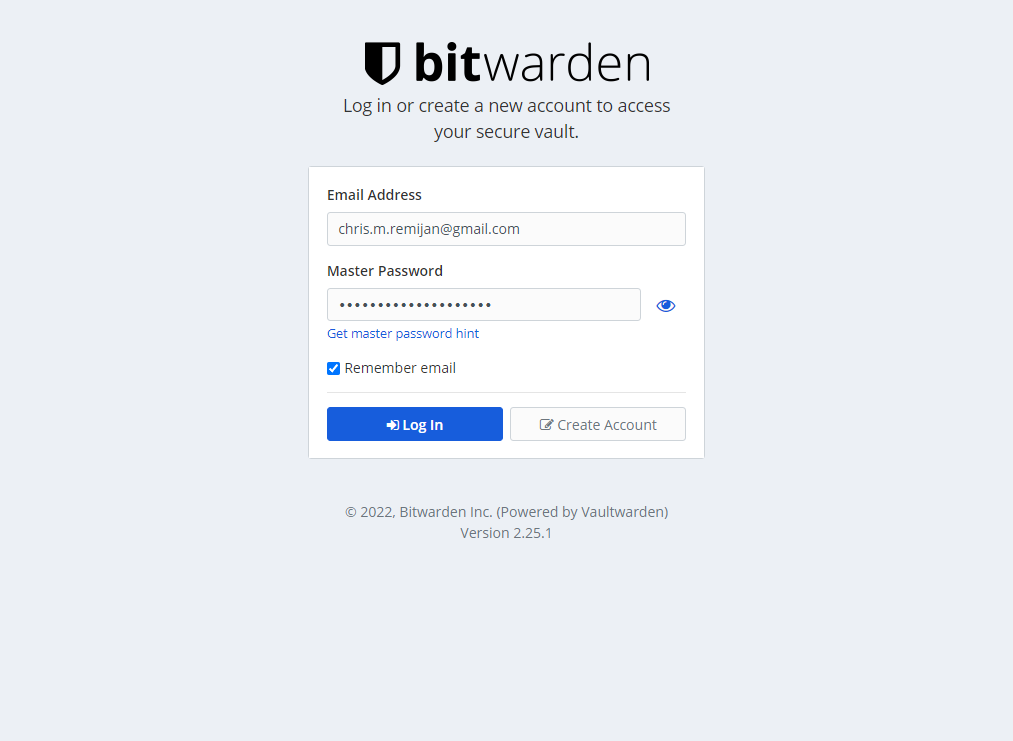
You will be redirected to a log-in page. Proceed to login using the credentials you created in step 2 (the user form).
The Bitwarden Dashboard
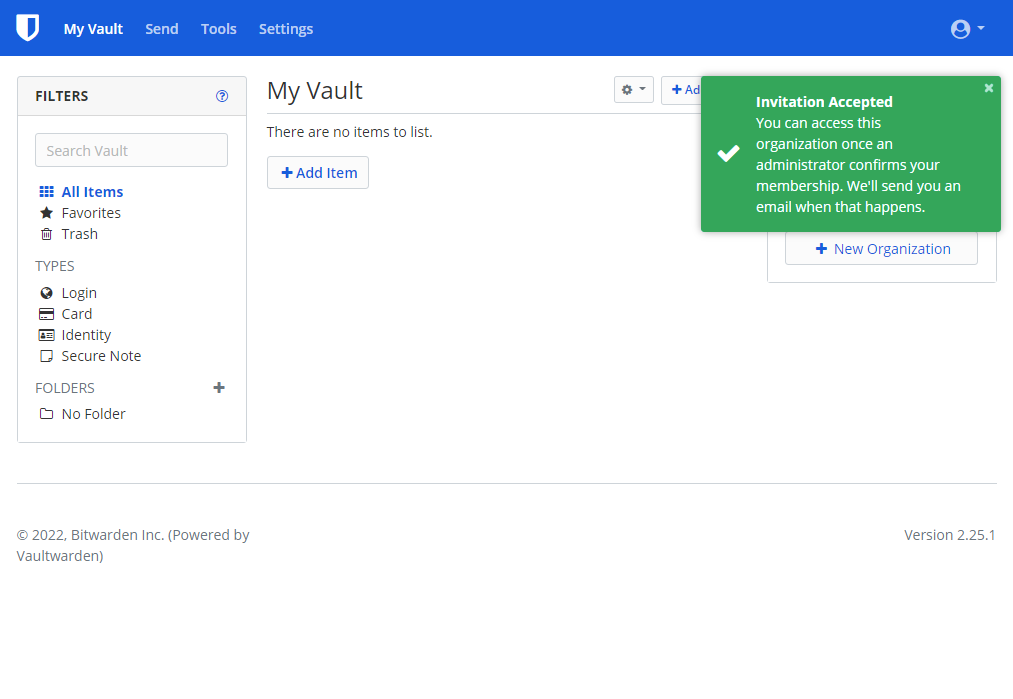
After successfully logging in, you will be presented with your Bitwarden dashboard. This is one of many ways to interact with your saved passwords, cards, notes, and identities.
Creating a New Item
Adding a New Item to Your Vault
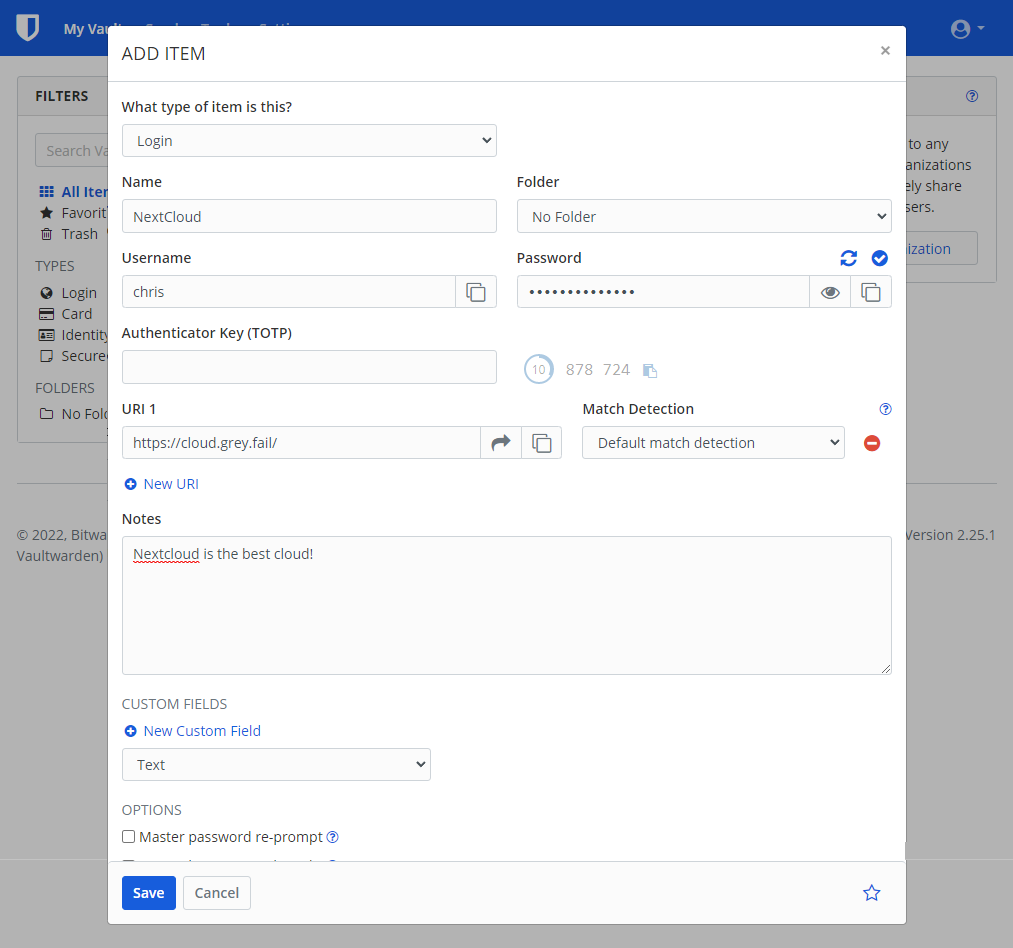
Adding an item is as easy as selecting the "+ Add Item" button and filling out the entry form.
In order for any browser extension to autofill user credentials, it is important to provide URL data (see "https://cloud.grey.fail" in the example below). This is how the Bitwarden browser extension distinguishes what credentials to apply to the website you are viewing.
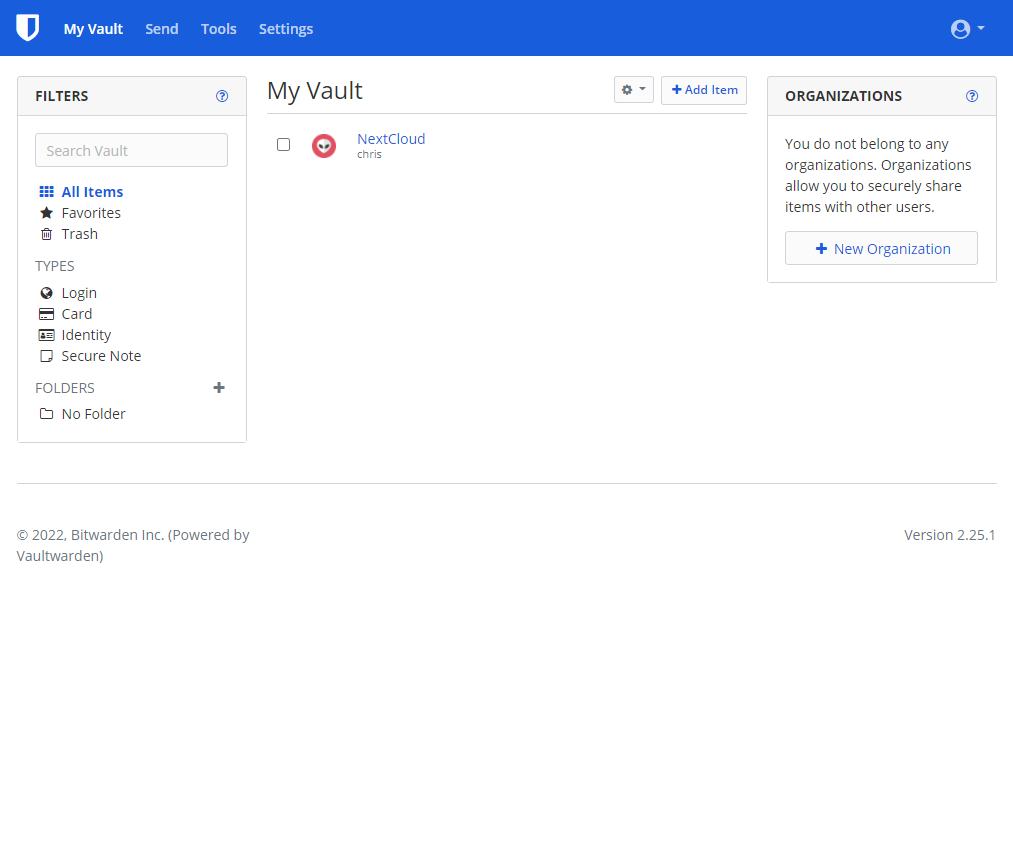
Once you save your new item, a new line item will appear in your vault. Feel free to organize line items into folders or types.
Conclusion
Congratulations! You are now using Bitwarden as a password manager! For ease of use, make sure to explore the Bitwarden browser extensions and desktop clients.
No Comments